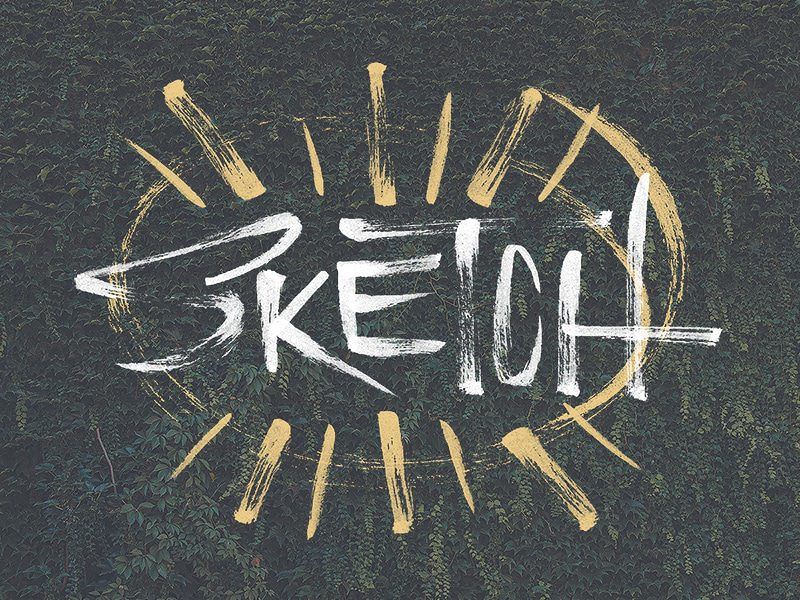
This little trick is the easiest, most effective way to remove backgrounds from your sketches, custom lettering pieces, illustrations, and so much more. The quality of the end result is so good, that I use this solution to remove the background from the textures, fonts, and illustrations that I sell. For the purposes of this tutorial, I’m going to use a custom lettering piece that I drew up real quick.
1. Firstly, let’s get your image scanned. Ideally, you’d want to use a DPI of 300 or higher. However, I have used this technique many times with nothing but an iPad camera (so it’s ideal for quick pratice pieces). Here is my very rough lettering piece. Far from perfect, but that doesn’t matter! (read the tip below).
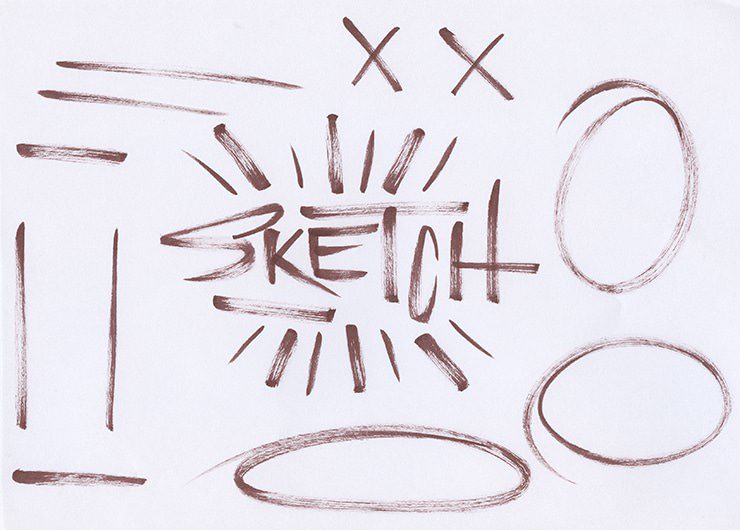
*Tip – You don’t have to nail your finished piece on paper. Everything can be edited. Don’t throw pieces away because your lowercase ‘a’ looks a little shitty, just carry on scribbling underneath. I’ve found that by doing this I become less frustrated and more creative with my work. Also, you can see that I have the tendency to create little extras surrounding my type. They might come in handy, you never know!
2. Change your image to Black and White (alt+shift+ctrl+b) by selecting Image > Adjustments > Black & White. You can leave the settings as they are, or do what I do, click auto then OK.
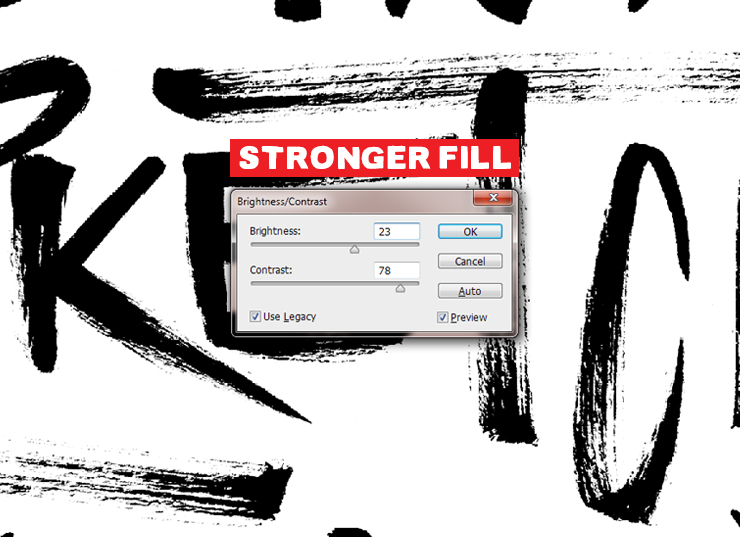
3. Navigate to Image > Adjustments > Brightness/Contrast. Tick the ‘Use Legacy‘ option, and play around with the sliders until the background is as white as possible and that the texture of the piece is to your choice. The soft style I’ve gone for below will allow for some of the photo to show through (or whatever you place behind).
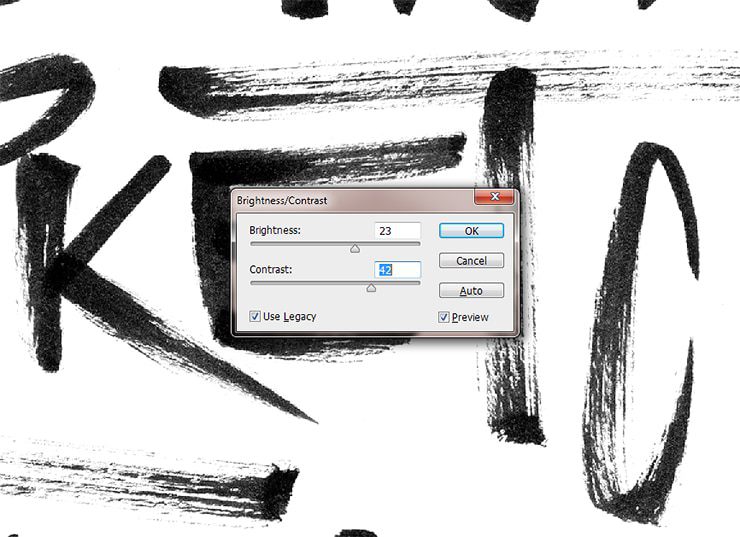
If you want a solid fill, your contrast will usually be much higher than your brightness. Again, the numbers do not have to be exact. Once you’re happy, click OK.
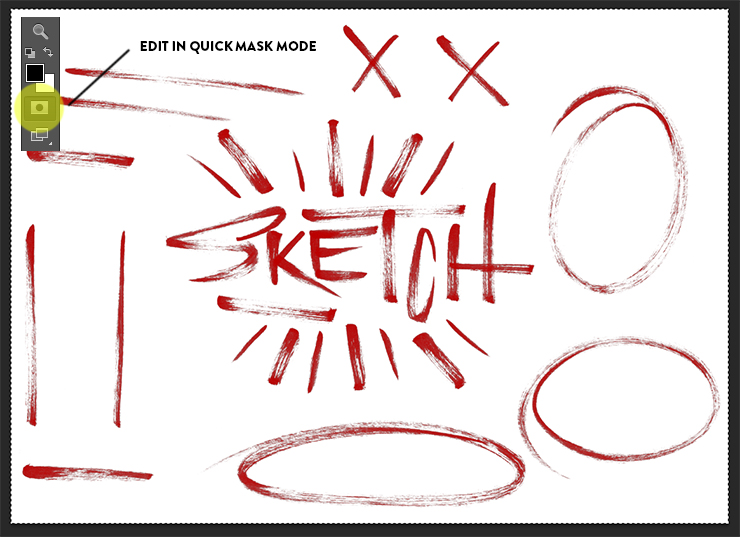
4. The next thing you want to do is copy your image. Navigate to Select > All (Ctrl + A), then, Edit > Copy (Ctrl + C). Now that you have your image copied, select the ‘Edit in Quick Mask Mode‘ (Q). Then Edit > Paste. You will now have something that looks like the image below.
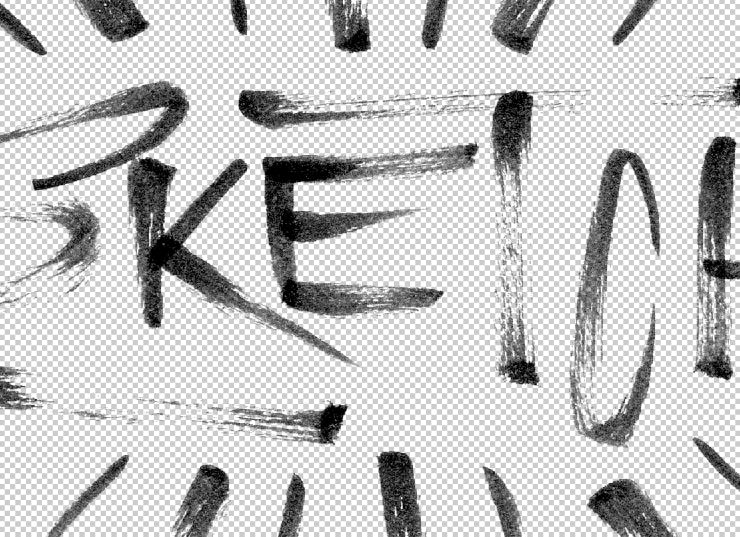
At this point, turn off the quick mask mode by selecting it again (or Q again). You’ll now notice that you have the inverted selection of your artwork. Now, Make a new layer (Layer > New > Layer), inverse your selection (Select > Inverse) and fill the selection with your desired color using the paint bucket tool (G) in the new layer. Delete the Background layer, and you will be left with something like this.
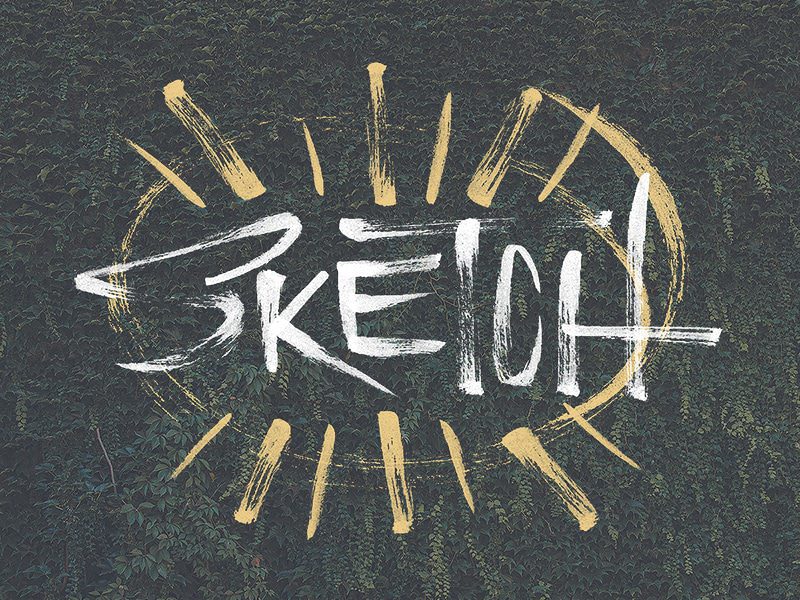
5. Technically that’s it, but I’ll finish this piece. I’ve grabbed a good’ol unsplash.com stock image and placed my lettering on top (I duplicated the lettering layer, and offset the bottom of the two layers, then changed the color to a dark grey to create the shadow effect).
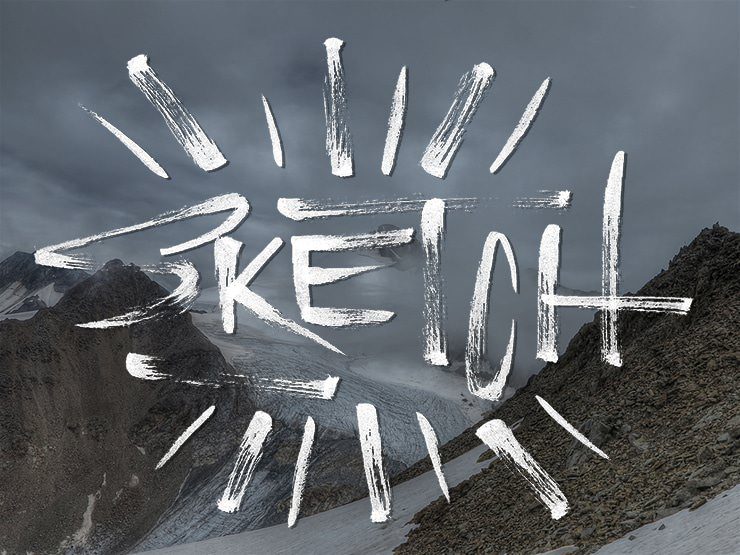
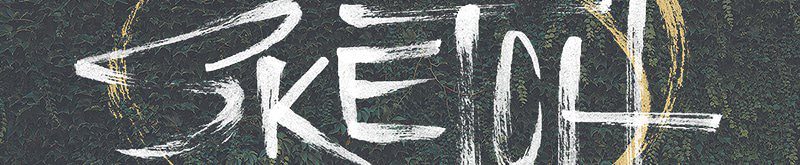
While the outcome looks pretty cool, there are a few issues with the lettering (specifically the letter spacing and sizes), I also want to incorporate one of the circles. This is where the joys of digital can help. Below, I reshaped the S, E, T, and C along with a few bits and pieces. Bish bash bosh, the finished piece.
Useful resource list:
What program are you using with this tutorial?
Photoshop 🙂
Thank youu!! Never knew you could do this in Ps. I’m an industrial designer and needed to knock out the paper background from my sketches (took a photo to bring them into digital). This brought me pretty close to what I needed.
So eaaaaasy, thanks you so much for sharing!
probably an easier method is to choose Levels,then set the background to white with the eye dropper tool then set the text to black with the eye dropper tool
Unfortunately, when using levels you can easily lose a lot of the finer details (primarily, the variety of shade and natural transparency). This technique is more far more consistent.
Hello these blog posts are super useful. This is fantastic info. I am a huge fan of vintage illustration and came across this website by accident. Beautiful stuff. Do you have a newsletter to sign up to?
Thanks Sonja! Glad you’re enjoying my corner of the web. I do indeed, sign up here: https://tomchalky.com/sign-up-for-access/