If you are looking to create your own Watercolor Photoshop Brushes but have no idea where to start, then you’re in the right place. It’s surprisingly simple and good fun once you get into the swing of things.
With the inevitable desire for all things handmade in our digital world, the request for Watercolor Photoshop Brushes and the alike have boomed (just look at the google trend). It’s the same story with Handcrafted Fonts and Hand Lettering! And where there is demand, there are people that supply (Psst…Take a look at my Assorted Paint Texture Collection). Whether you’re a professional or hobbyist, this tutorial will provide you with all you need to know to successfully create your own high-quality pack of watercolor brushes for Photoshop.
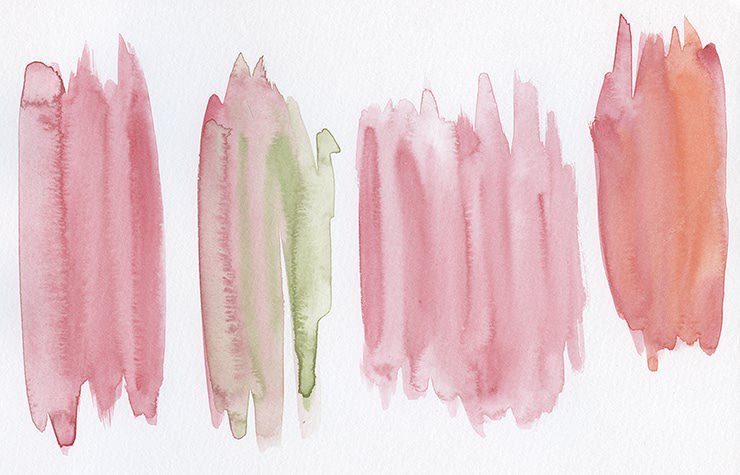
1. Scan your watercolor pieces using the highest resolution possible. There is no reason why I used colored watercolor, in fact, I recommend you use black for a better contrast. Tip: Solid black paint will not provide much texture when converted. Usually, a nice wash works best, you can always duplicate your layer to strengthen the contrast when desired.
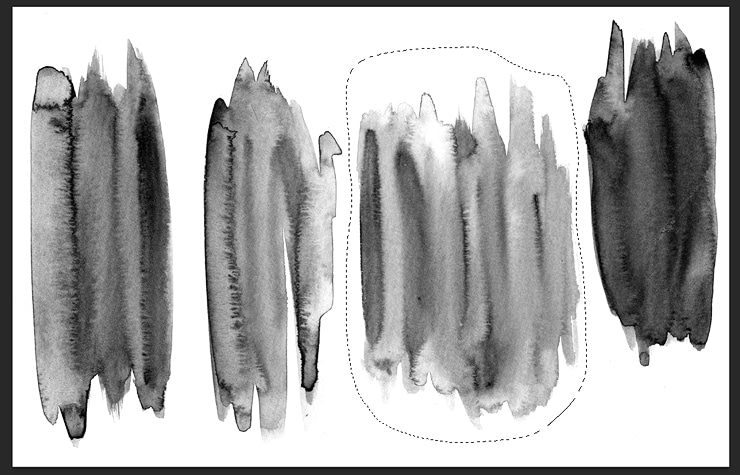
2. Convert the scan to Black and White (Image > Adjustments > Black + White > Auto > OK)

3. Using the Brightness/Contrast options (Image > Adjustments > Brightness/Contrast) make the background as white as possible using the sliders while keeping the detail of the watercolor as high as possible.

4. Using the Lasso Tool (L) from the main toolbar, select one of the pieces and Edit > Copy (Ctrl + C).
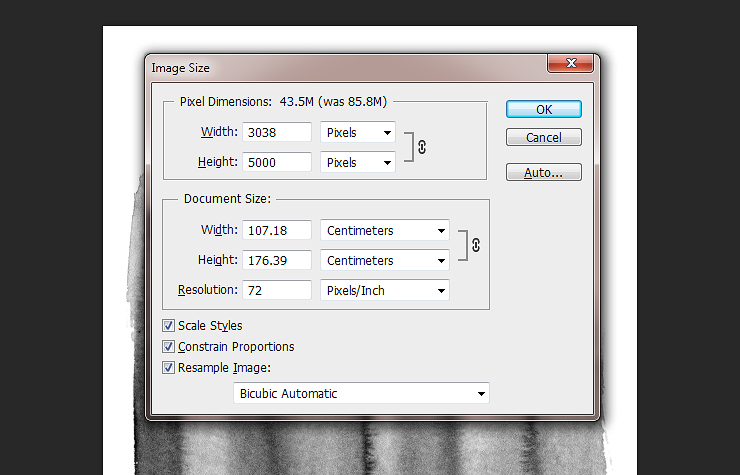
5. Make a new document, the dimensions of the copied piece will automatically be the dimensions of the new document. Paste the watercolor (Edit > Paste) and select Edit > Define Brush Preset. If you see a box appear, follow step 6. If the Define Brush Preset option is grayed out, then your document is larger than the maximum brush size for your version of Photoshop. Newer versions allow brushes up to 5000×5000 pixels, older versions allow 2500×2500 pixels. Ensure that your image falls within these dimensions by changing the image size (Image > Image Size). Try re-sizing the largest dimension to 5000px, if it is still grayed out, re-size again to 2500px.
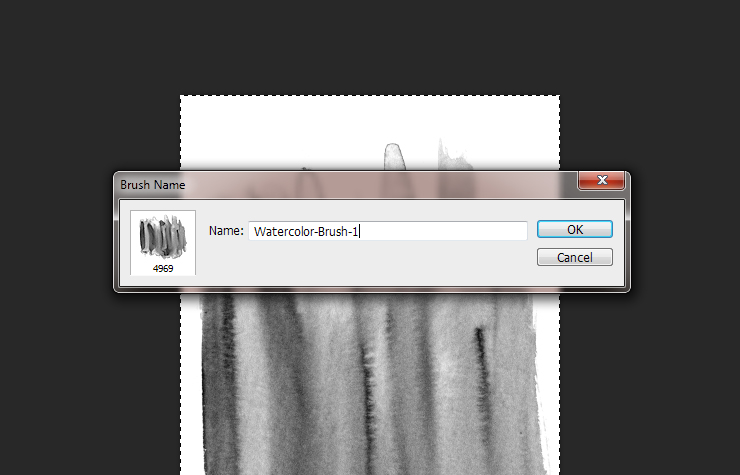
6. Type your desired Preset name (This will not be the name for your Watercolor Photoshop Brushes, just this particular preset), and click OK. Repeat from step 4 for each watercolor piece.
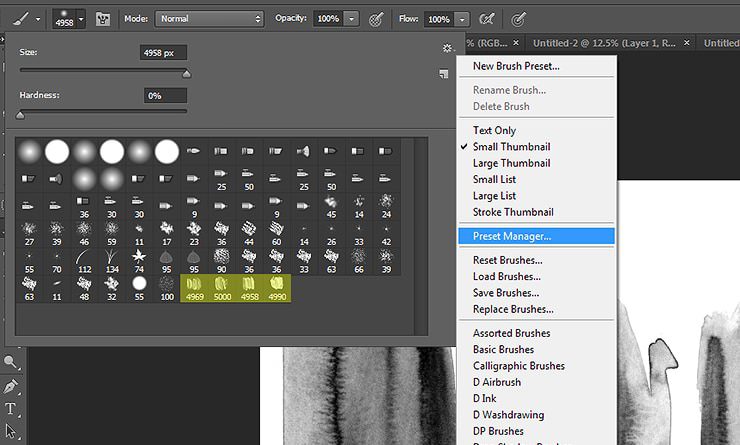
7. Once you have completed creating all of your brush presets, open your preset manager by selecting your Brush tool. You can find the preset manager by clicking on the drop-down arrow to the right of the currently selected brush preset, clicking the settings in the top right of the box, then Preset Manager.
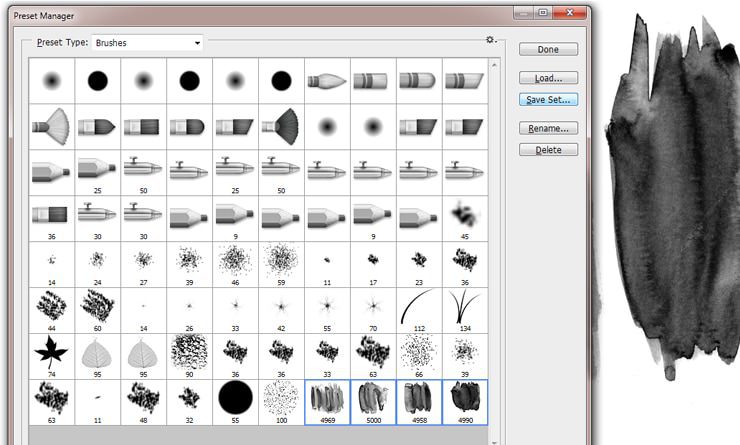
8. Select your lovely brushes while holding Ctrl (or Cmd) and click Save Set. A box will appear and this is how you save your brush pack. The name you choose now will be the name for your finished Brush set. That’s it!
Thank-you for following the tutorial, if you found this useful be sure to share and comment below with your finished pack. I’d love to check them out. Click on the image below to download my brush pack for free.

I offer a bunch of Free brush packs over on Inspiration Hut (An art and design blog that I run with Abbie). Grab them all using the big sign up form on the homepage 🙂
Thank you for these amazing tutorials and your wonderful freebies!
It’s my absolute pleasure Dana 🙂 I’m glad you like them!